English
Try Localizeflow

Migration

Migrate from Co-op Translator to Localizeflow

Step-by-step guide to move your existing Co-op Translator setup to Localizeflow.

This guide explains how to move an existing Co‑op Translator setup on GitHub to Localizeflow.

Quick migration summary

  1. Remove Co-op Translator workflow + secrets.
  2. Sign in with GitHub on Localizeflow and install the GitHub App.
  3. Connect your repository and configure languages → Start & Automate.

Why migrate from Co-op Translator to Localizeflow?

Localizeflow runs translations on its own infrastructure instead of GitHub Actions, so:

  • No more 6-hour GitHub Actions timeout

  • Clean and reliable PR automation

  • No secrets or workflow files to maintain

Remove Co-op Translator configuration

If your repository currently uses the GitHub Actions version of Co-op Translator:

  • Delete the co-op-translator.yml workflow file Delete Co-op Translator yml
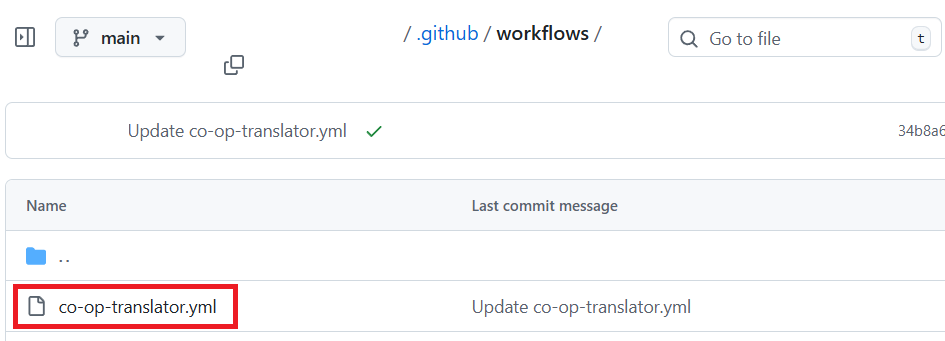
  • Remove any related secrets from the repository. Delete secret keys 
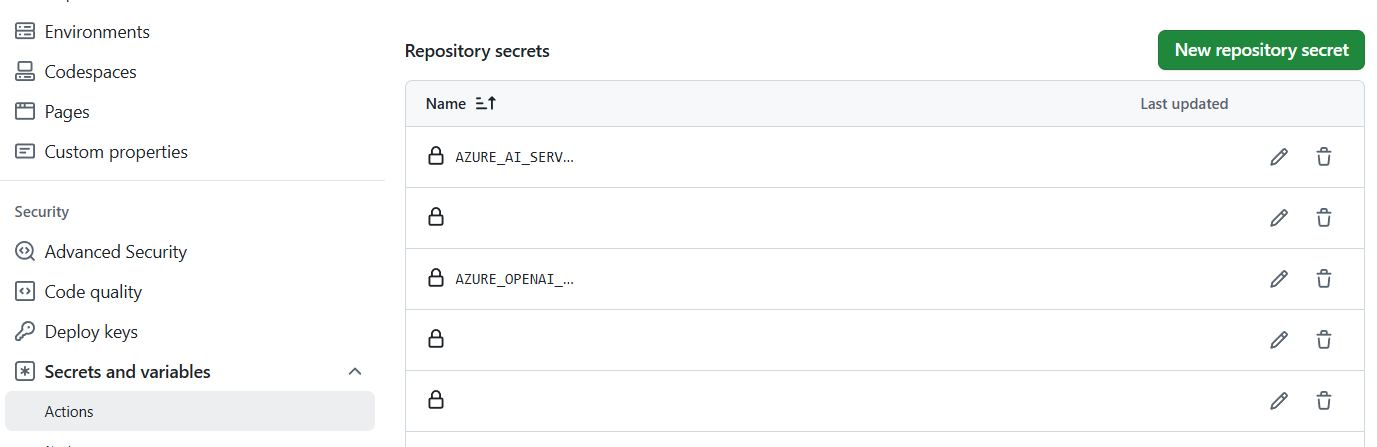
Localizeflow fully replaces these parts, so they are no longer needed.

Sign in and install the Localizeflow GitHub App

  1. Visit localizeflow.com.

  2. Select Continue with GitHub. Select Continue with GitHub

  3. Select Sign in with GitHub. Sign in with GitHub

  4. Sign in with your GitHub account. GitHub login

  5. After logging in with GitHub, you’ll be redirected to Localizeflow’s account selection page. Select Install in new account to create your account and install the Localizeflow GitHub App. install new account

  6. Choose the account where you want to install the Localizeflow GitHub App — your personal account or an organization you manage. Select account

    Installing the Localizeflow GitHub App on a GitHub organization requires that you are an organization owner. If you are not an owner, share this page with an owner and ask them to complete the installation step for you.

  7. Select the repositories you want Localizeflow to access, then choose Save. Select repo and save

  8. You will be redirected to the Localizeflow home page.

If an organization owner installed the Localizeflow GitHub App, they can invite teammates from the Team page in the sidebar, either by sending email invitations or sharing an invite link.

Team

To add more repositories later, select your account in the header and choose + Add more repositories. Add more repositories

Connect your repositories to Localizeflow

  1. On the Localizeflow home page, select + Connect repositories. Select connect repositories

  2. Select one or more repositories you want to connect, then select Save. You can use the search bar to quickly find specific repositories. Select repository

  3. Your connected repositories will now appear on both the Home page and the Repositories page.

  4. To view all connected repositories, navigate to the Repositories page.

    Select repositoryies tab

Configure translation settings

  1. Select one of the repository you just connected. Select repository

  2. If this is your first time configuring the repository, you will be redirected to the repository settings page. Once you save your configuration, you can return to this page anytime by selecting the Edit button.

  3. On the edit page, perform the following tasks:

    • For Framework, select Generic Git repository. This option is 100% compatible with Co-op translator. Select framework
    • Select your Source language and Target languages. You can use Select all to quickly choose all available languages. Select target languages
    • Select the Target branch. This determines which branch Localizeflow will create translation PRs against. If your source documentation lives in main, we recommend setting the Target branch to main. Select target branch
    • For Translation Options, configure them to match your previous Co-op Translator setup. For example, if your workflow included Markdown files, images, notebooks, and a disclaimer, enable those same options here. Select translation options
    • Select Save.
  4. After saving, you will be redirected to the repository detail page. Select Start & Automate. Localizeflow will begin translating your content and will automatically open pull requests whenever your source files change. Start & Automate