Getting started
Automatically translate your documentation with the Localizeflow GitHub App in under two minutes.
Install the GitHub App.
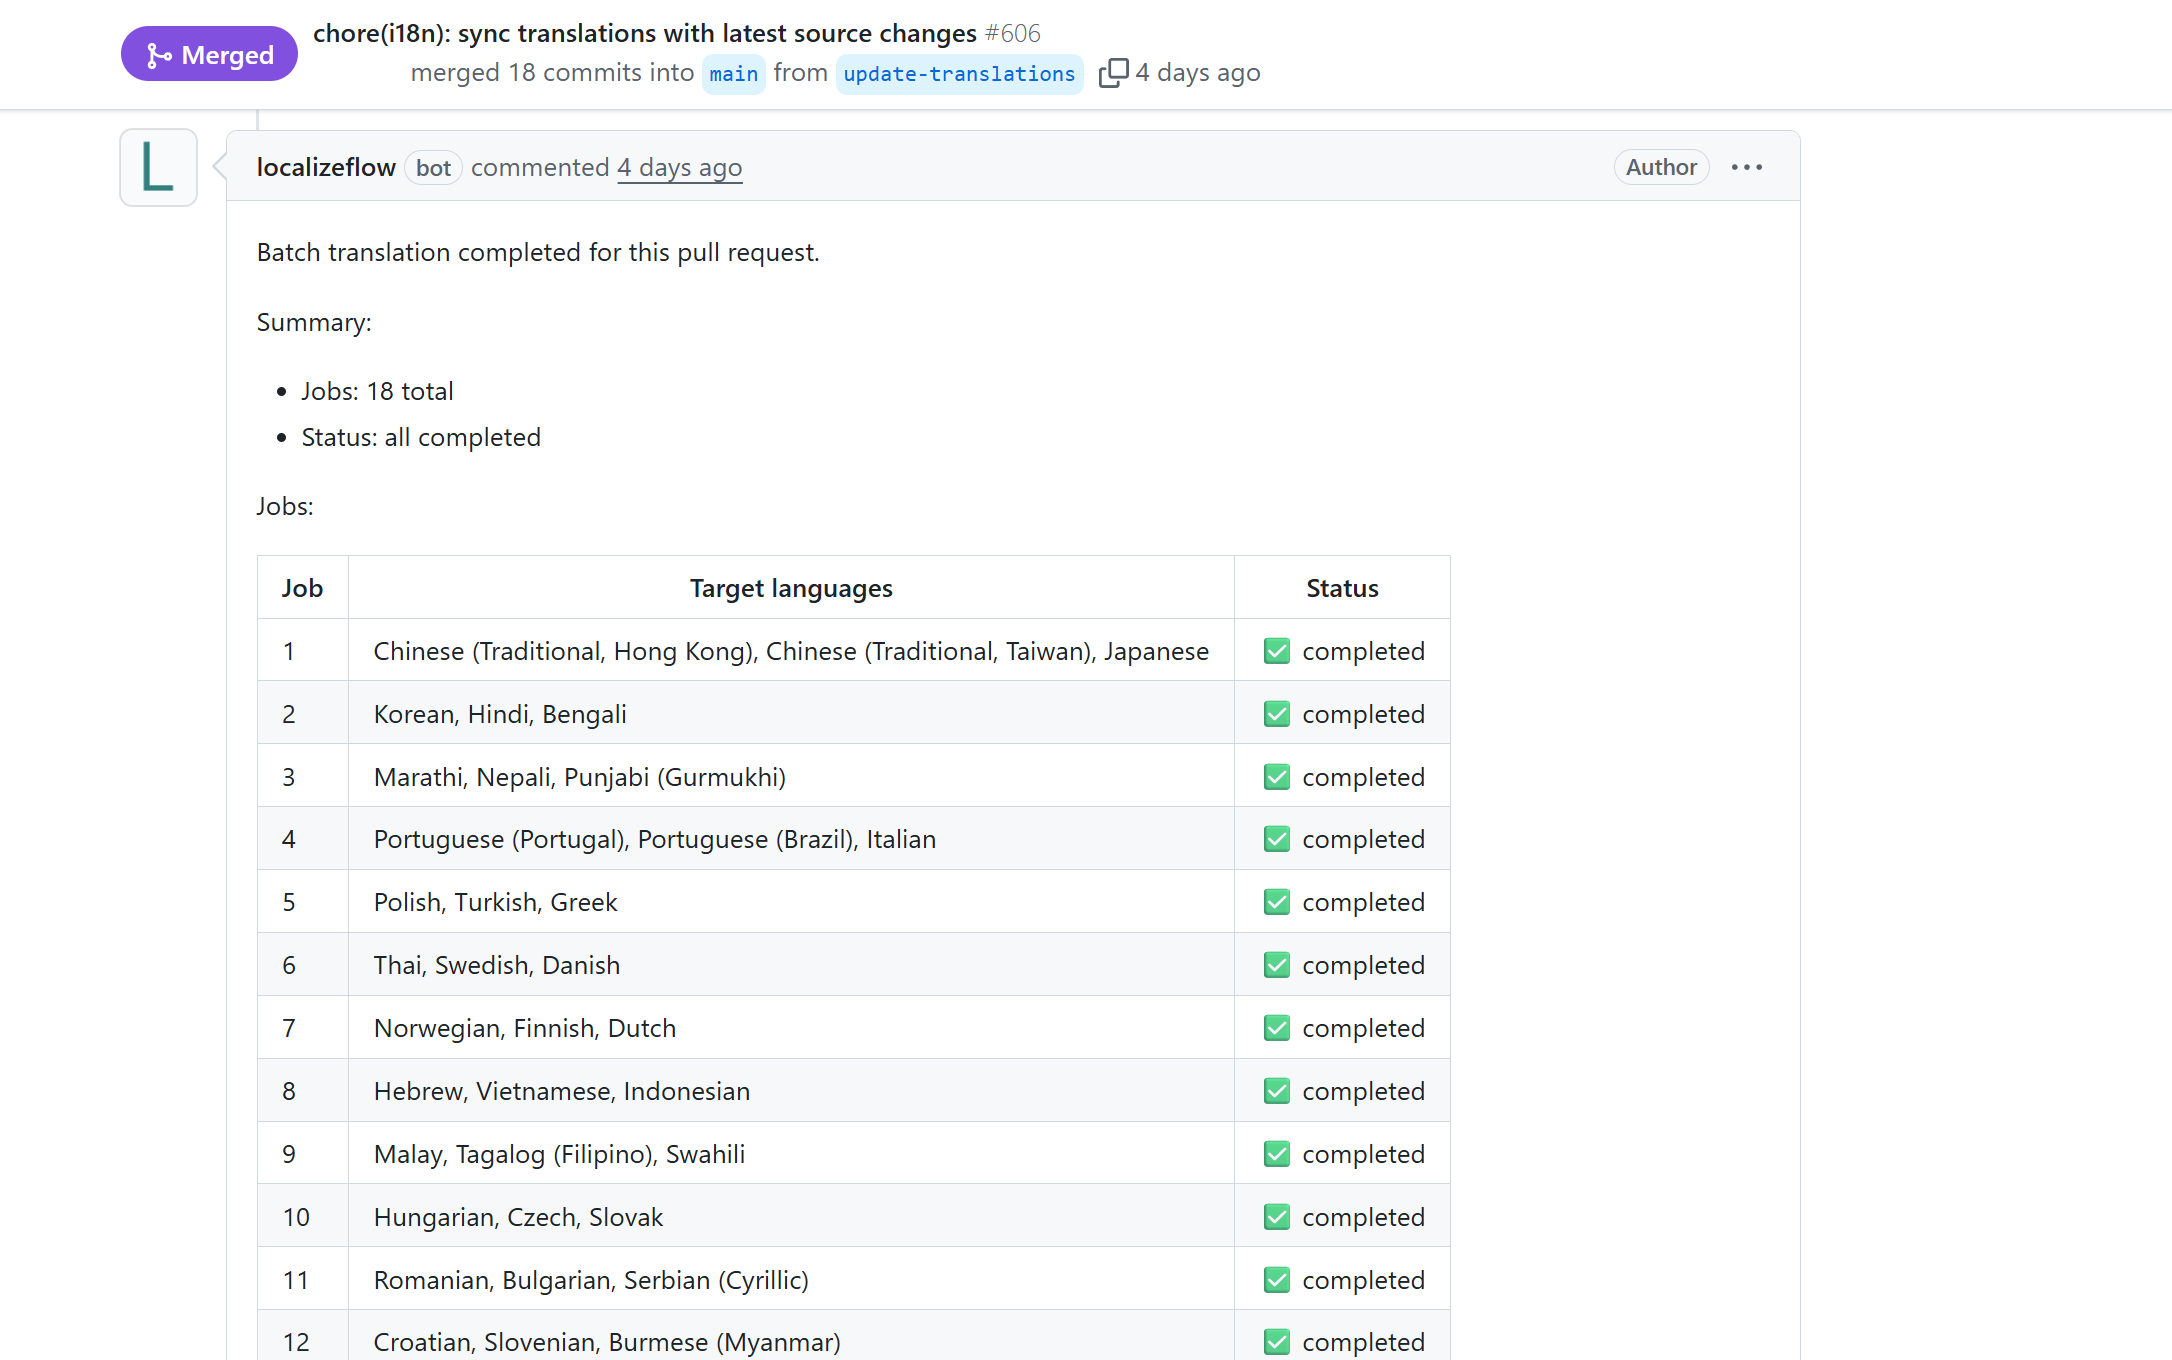
Localizeflow opens and updates multilingual pull requests automatically.
Follow the steps below to connect your repository and run your first translation.
Prerequisites
- A GitHub account.
- Access to the GitHub organization or repository you want to translate.
Installing the Localizeflow GitHub App on a GitHub organization requires that you are an organization owner. If you are not an owner, share this page with an owner and ask them to complete the installation step for you.
Prepare your repository (optional)
If you already maintain manual translations (e.g. README.ko.md or docs/ja/),
remove them before enabling automation so your default language remains the single source of truth.
Sign in and install the Localizeflow GitHub App
-
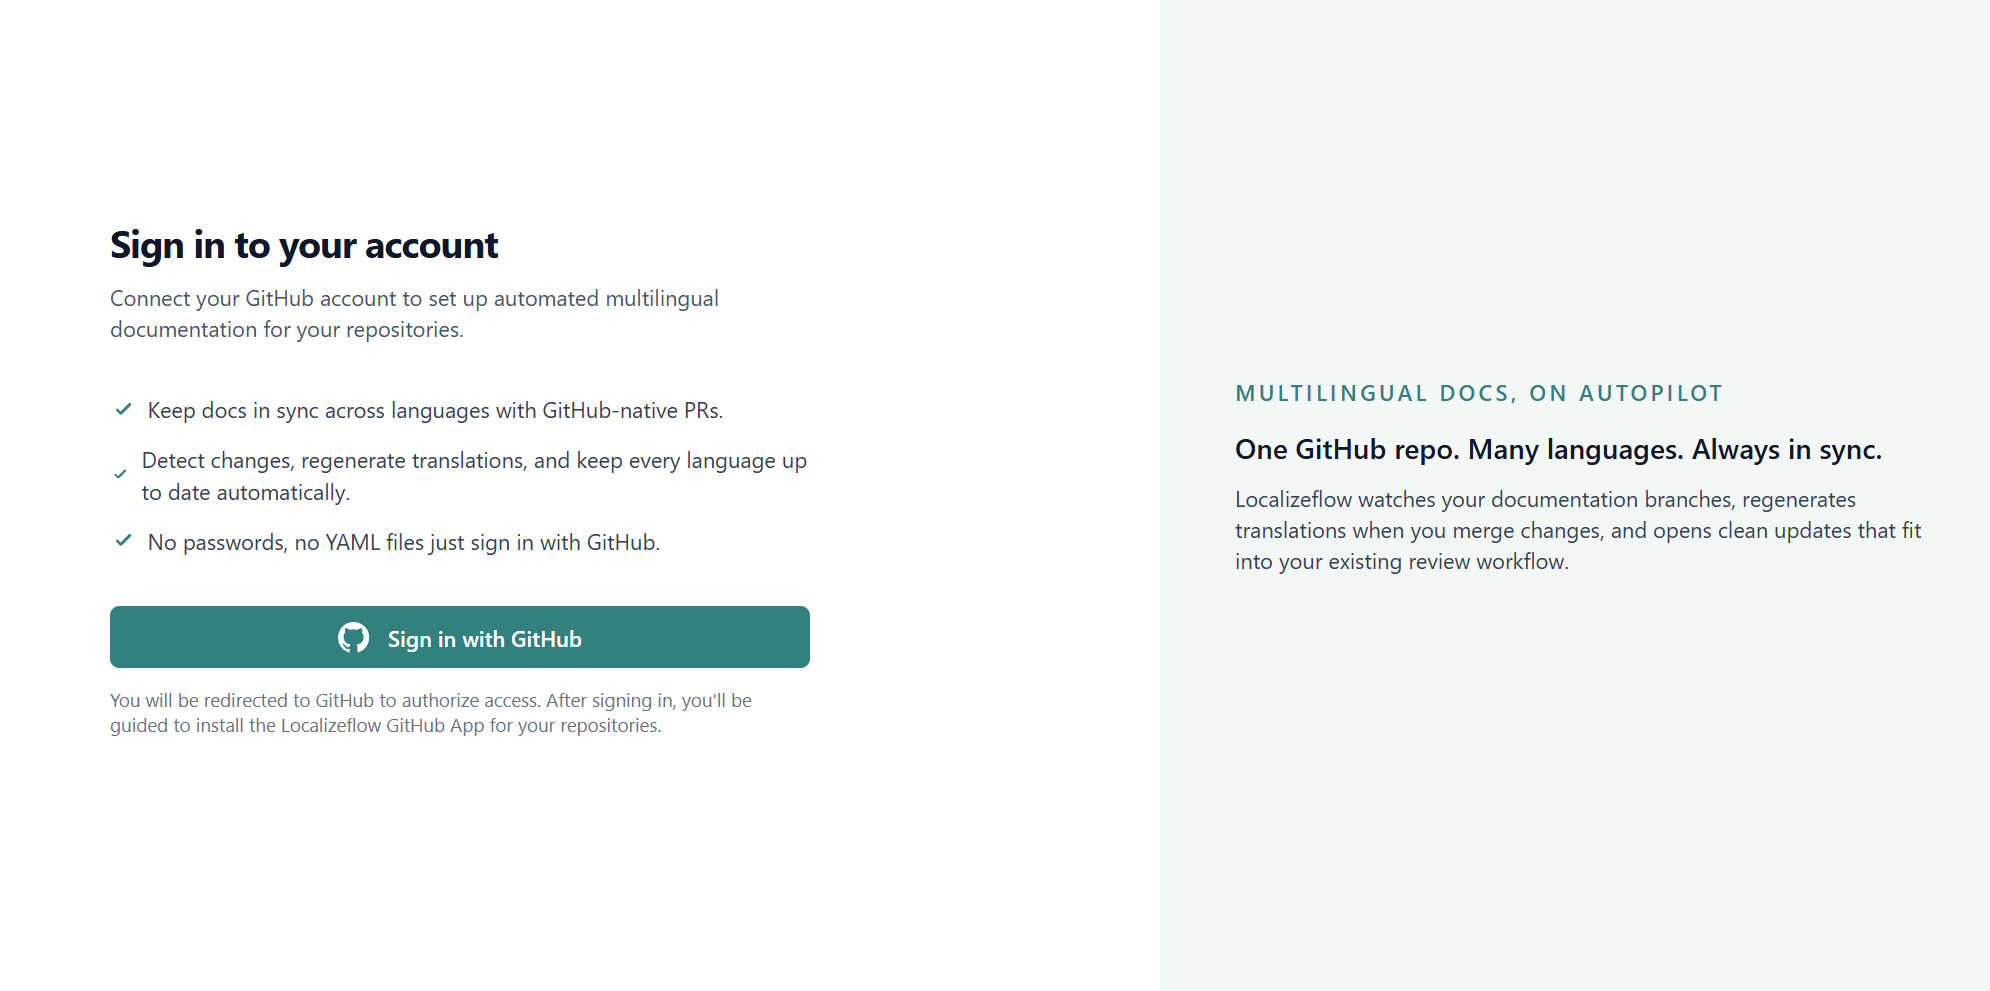
Visit localizeflow.com.
-
Sign in with GitHub.
-
Select Install in new account.
-
Choose the account where you want to install the Localizeflow GitHub App — your personal account or an organization you manage.
Installing the app in a GitHub organization requires organization owner permissions. If you are not an owner, share this page with an owner and ask them to complete the installation step for you.
-
Select the repositories you want Localizeflow to access, then choose Save.
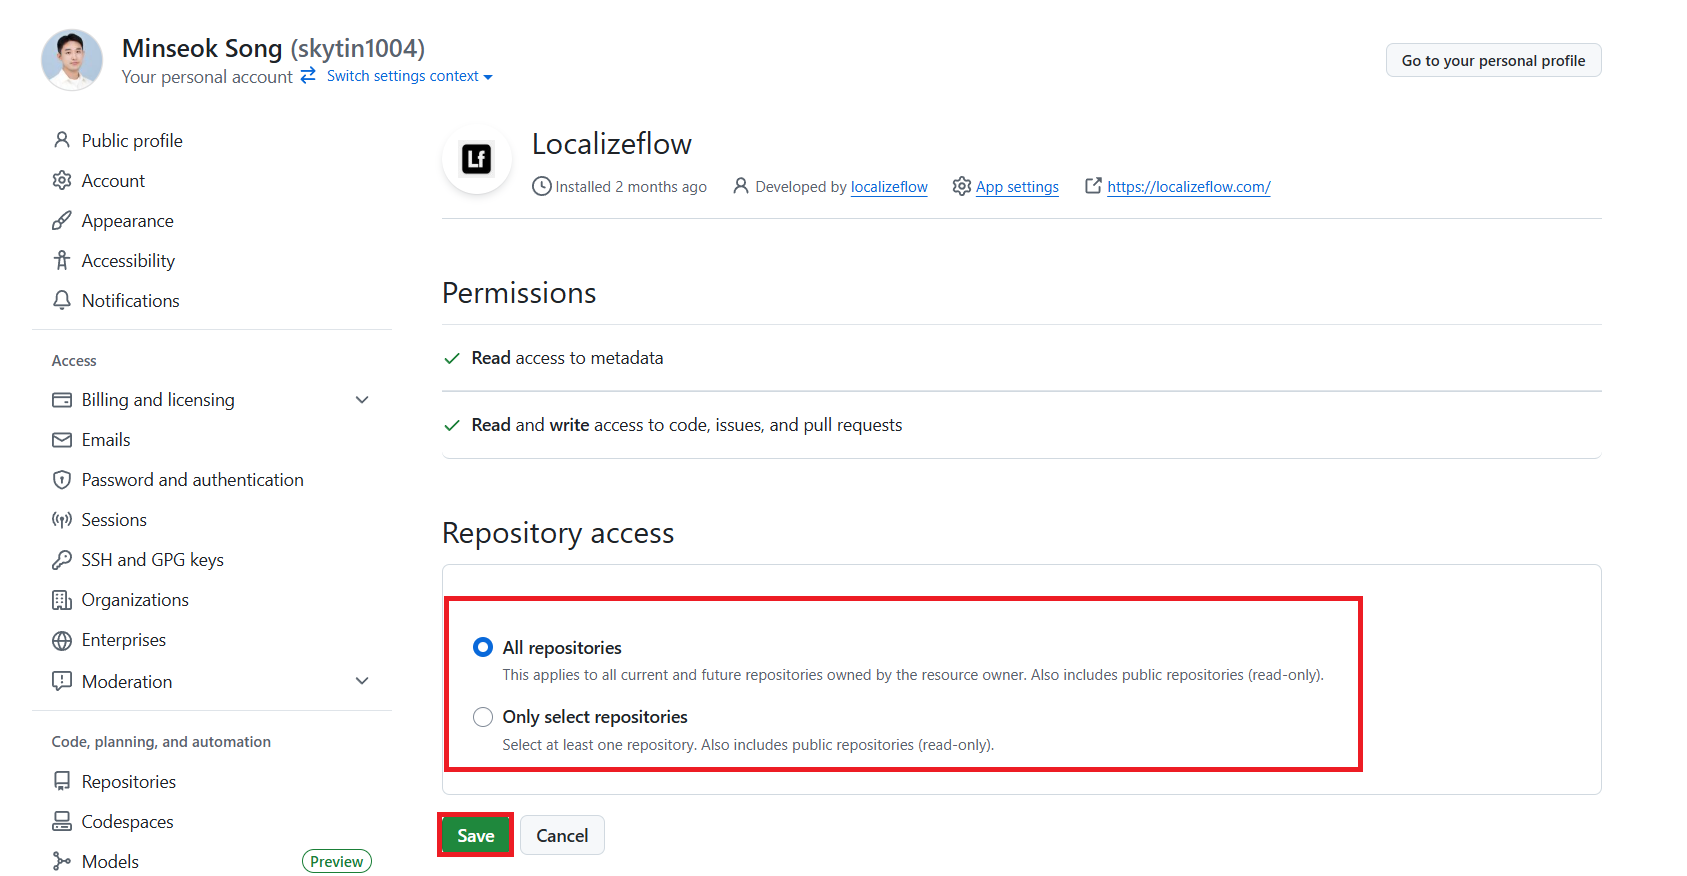
-
You will be redirected to the Localizeflow dashboard.
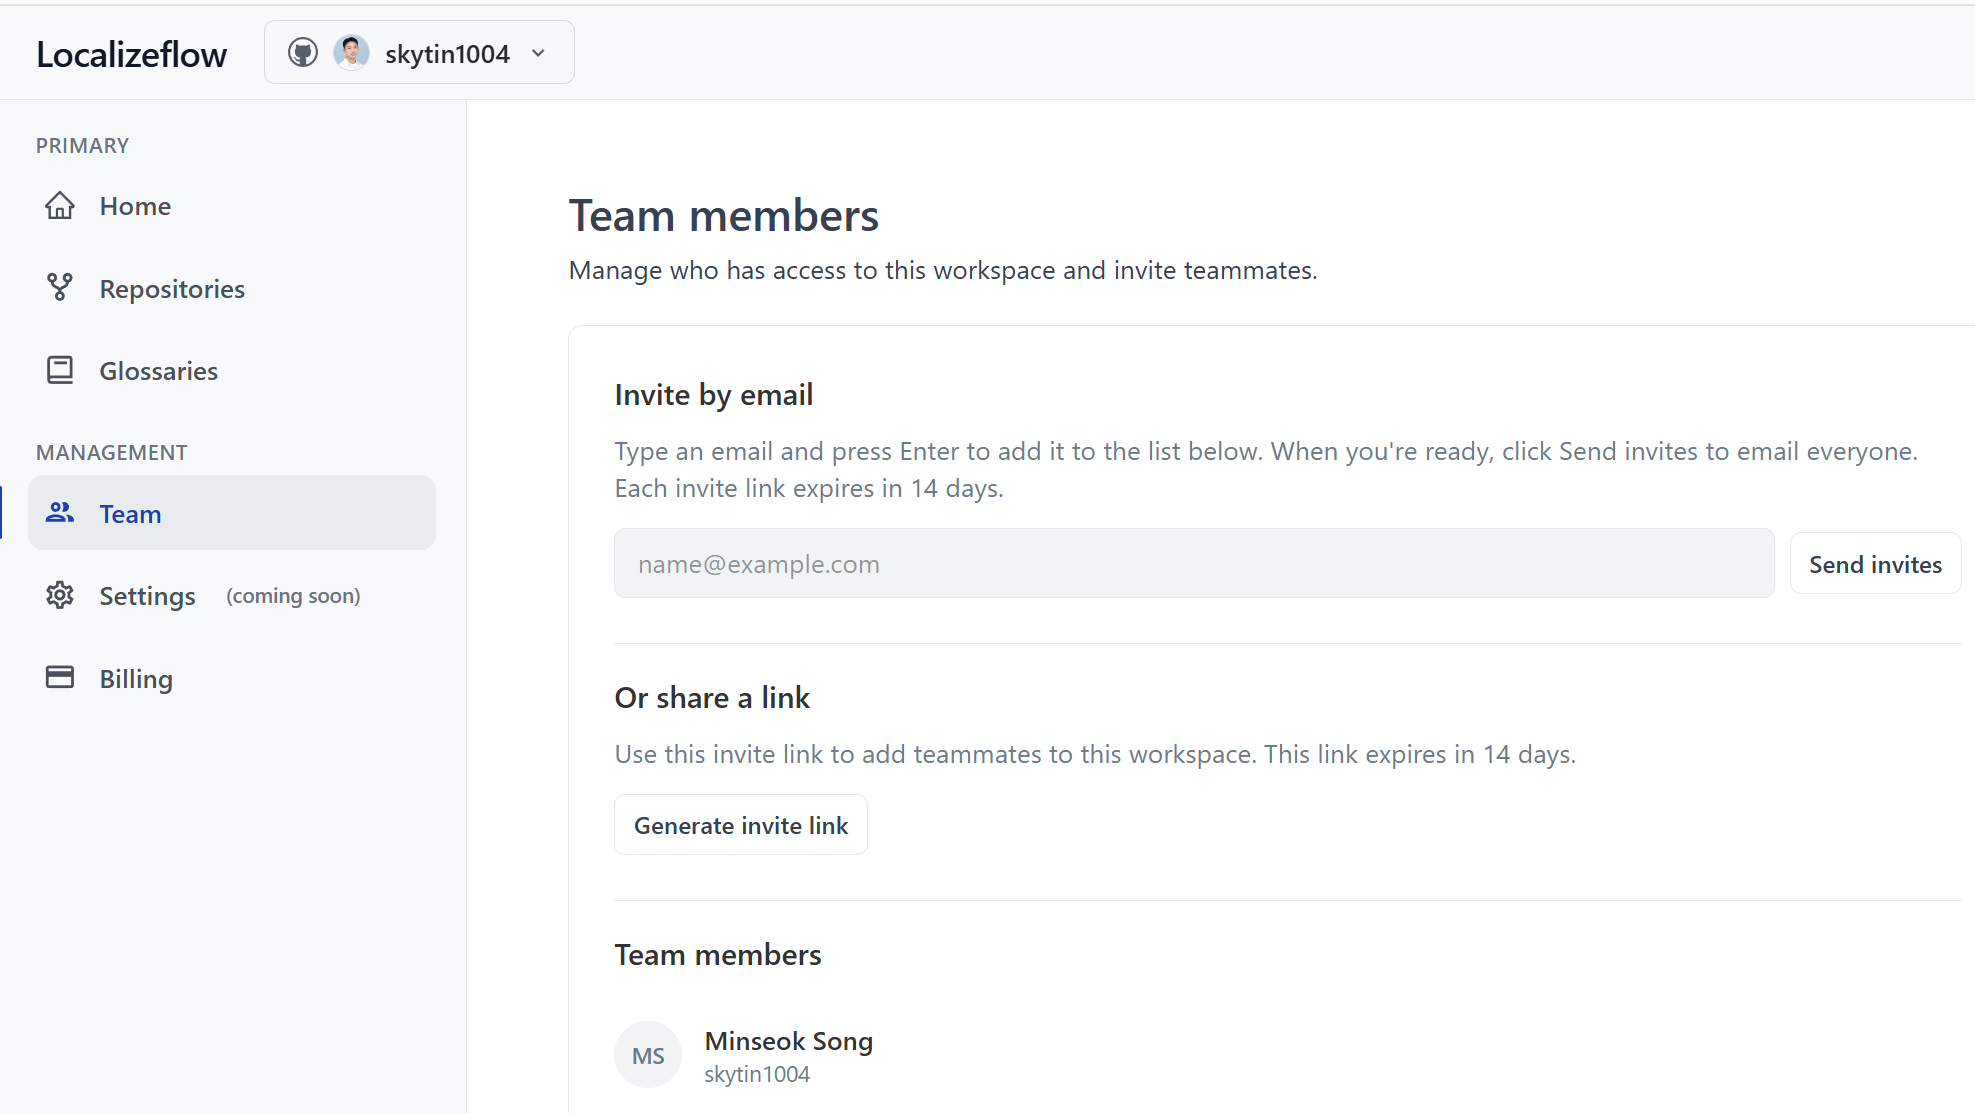
If an organization owner installed the Localizeflow GitHub App, they can invite teammates from the Team page in the sidebar, either by sending email invitations or sharing an invite link.
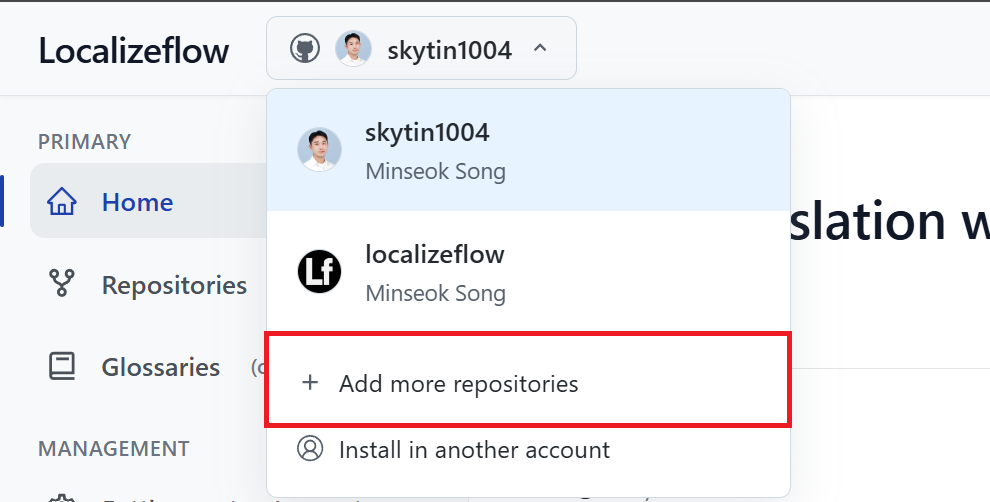
To add more repositories later, select your account in the header and choose + Add more repositories.
Connect your repositories to Localizeflow
-
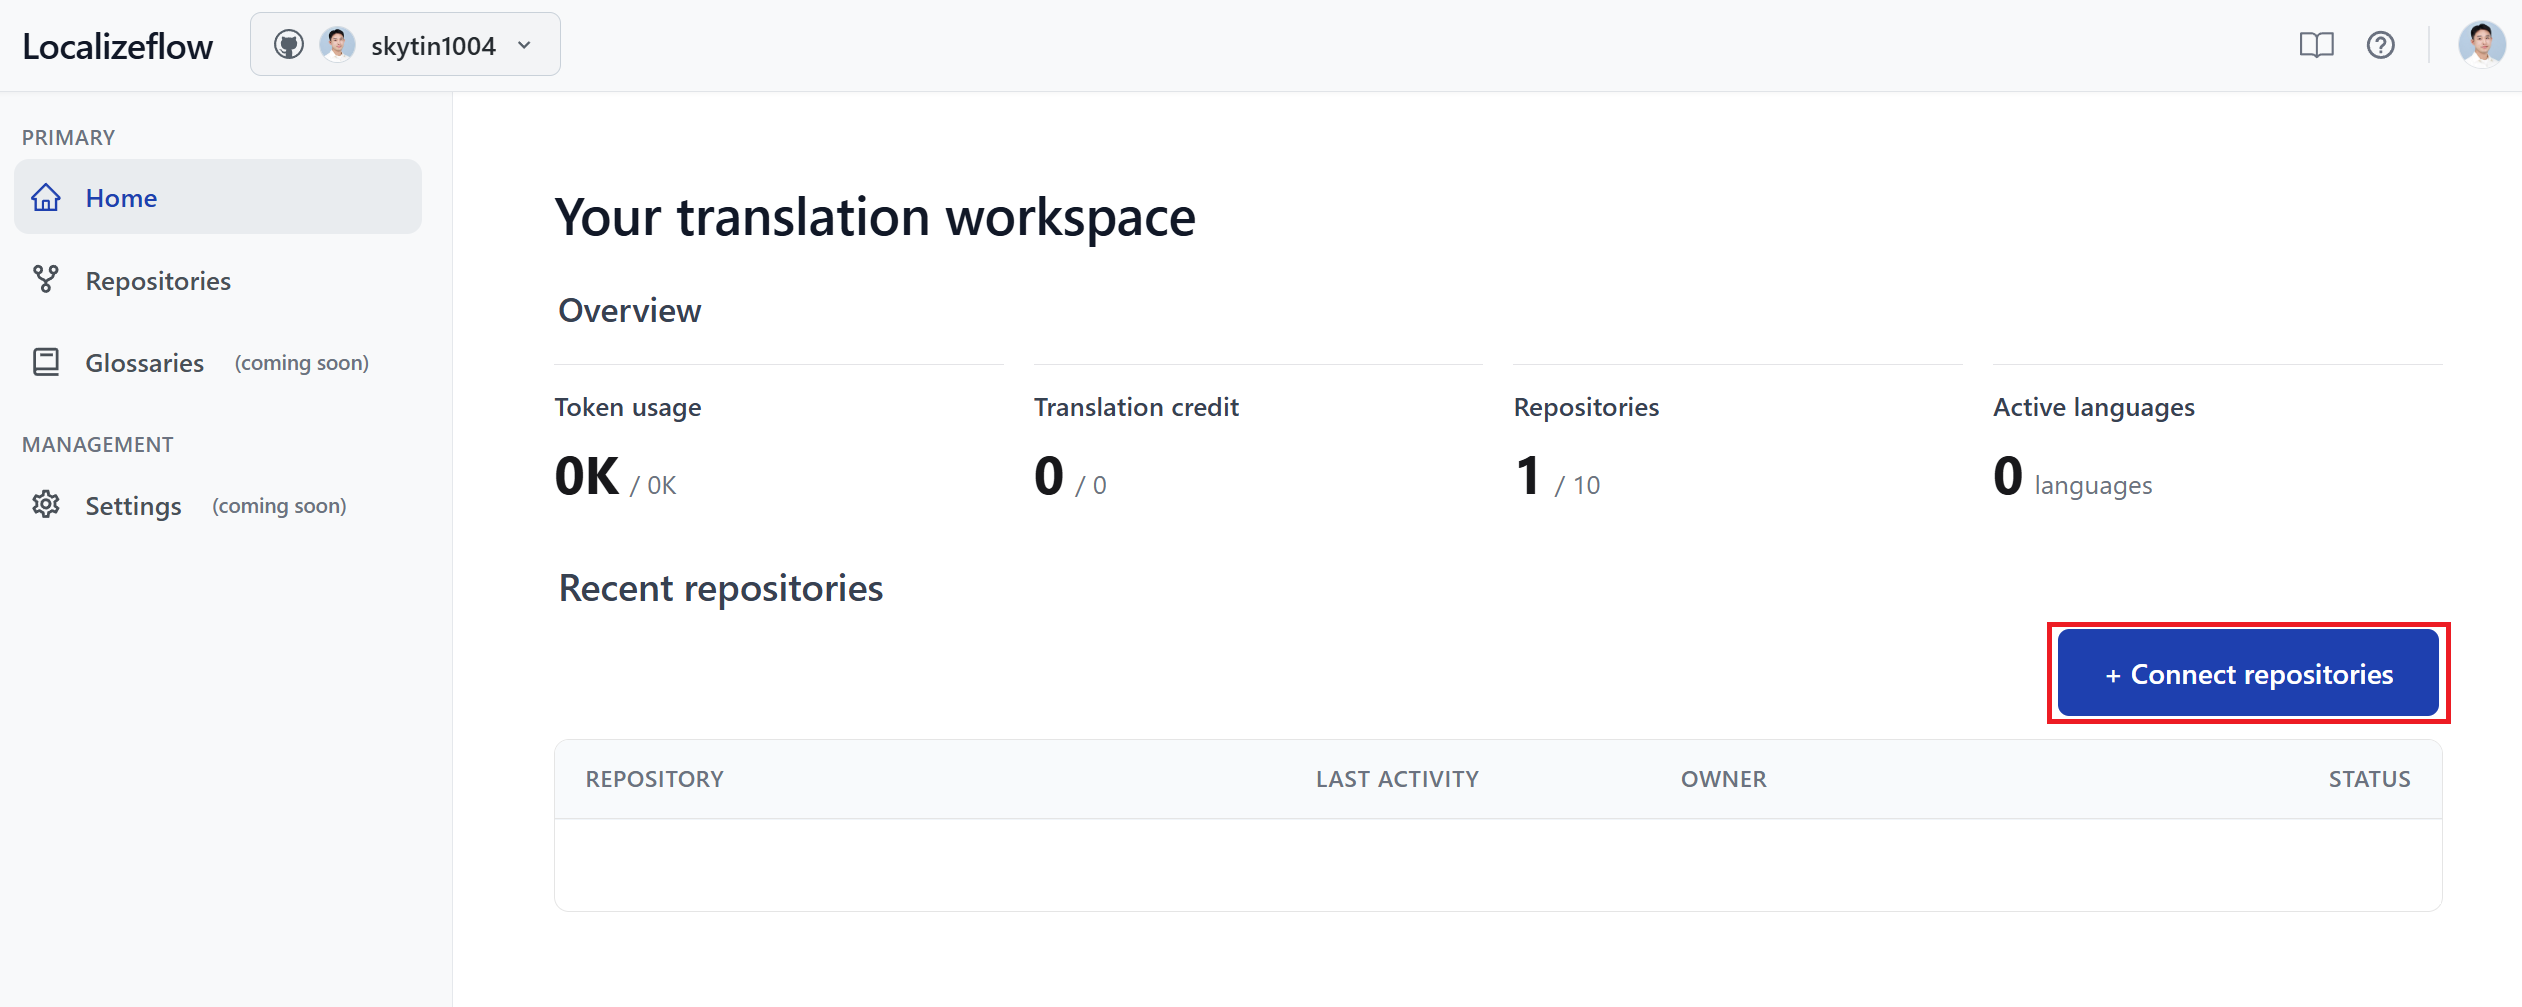
On the Localizeflow home page, select + Connect repositories.
-
Select one or more repositories, then select Save.
-
Connected repositories will appear on both the Home and Repositories pages.
Run your first translation
After connecting your repository, select it from the dashboard to open the onboarding wizard.
The wizard takes less than two minutes and defines:
- Which languages
- Translation output paths
- Terms that must remain unchanged
Step 1: Languages & target branch
Target languages
Select one or more target languages.
Localizeflow will generate and maintain pull requests for each selected language.
You can modify languages later from the repository settings.
Target branch
Choose the branch where translation pull requests should be opened.
- In most cases, use your default branch (for example,
main). - If you use a staging or documentation branch, select that instead.
If left empty, Localizeflow uses the repository’s default branch.
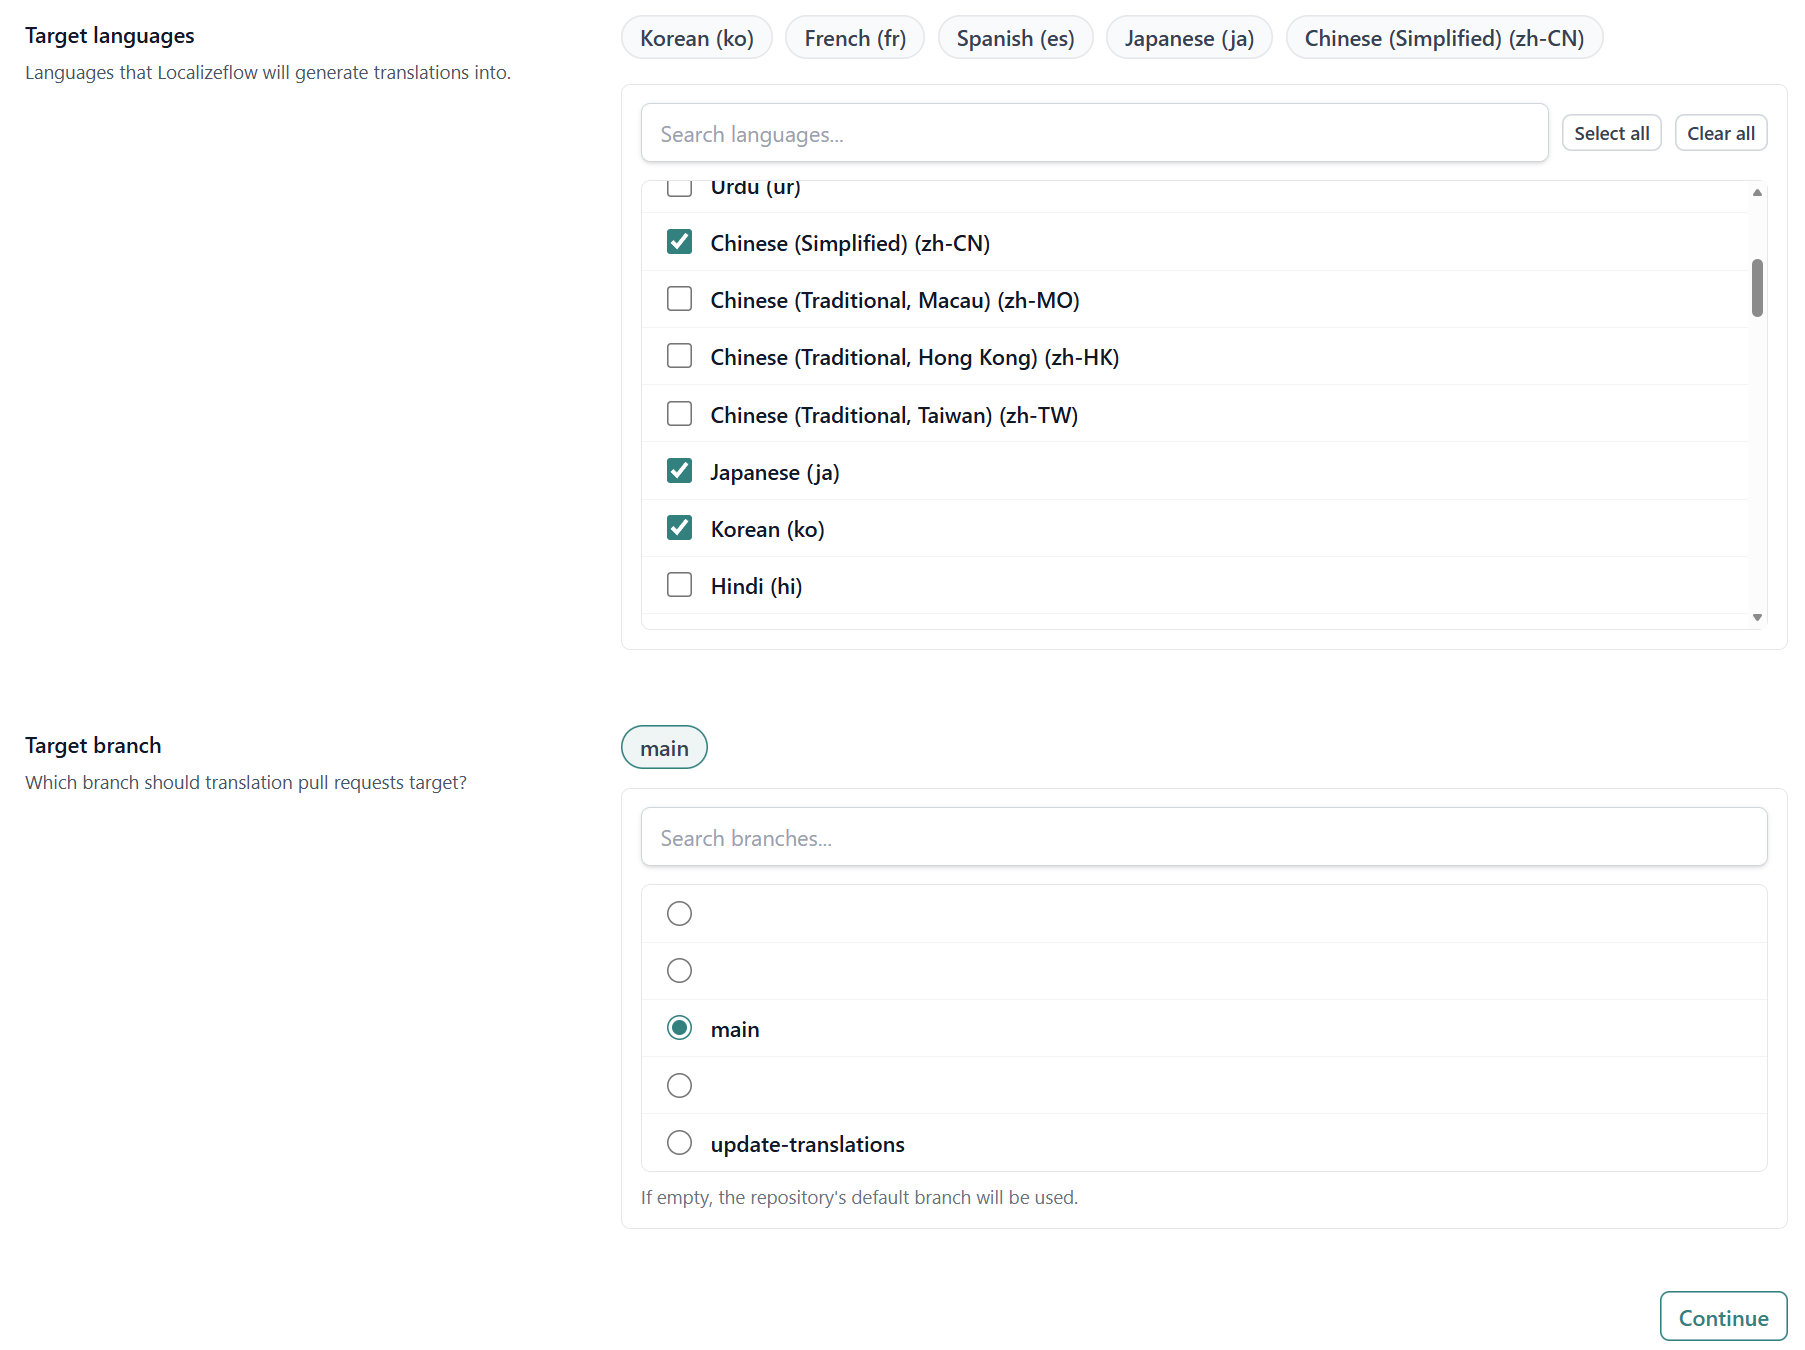
Select Continue.
Step 2: Output location
Localizeflow needs to understand where your source content lives and where translated files should be generated.
Select project type
For documentation frameworks such as Astro, Docusaurus, Hugo, MkDocs, and similar tools, select:
- Documentation site.
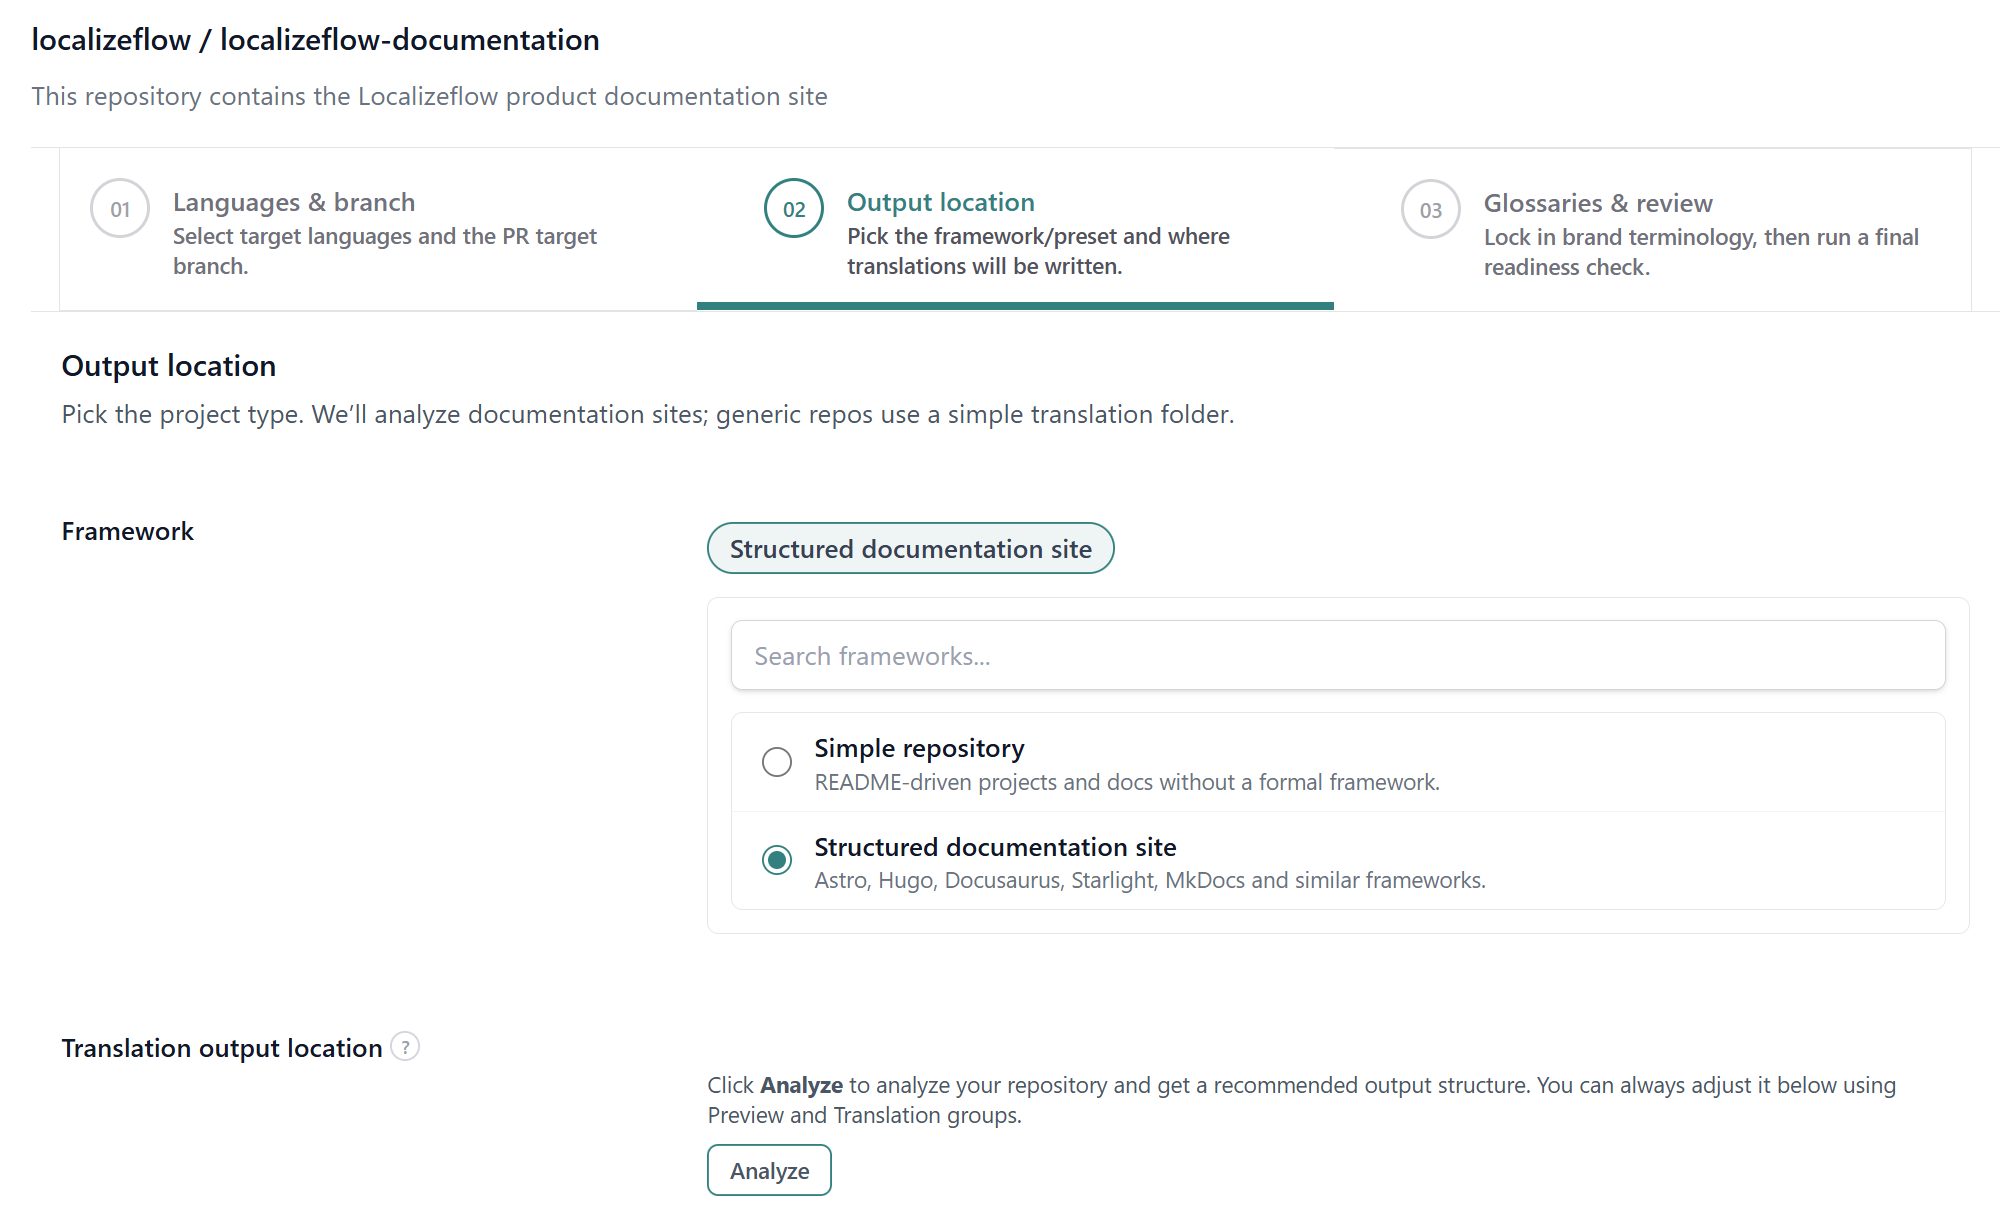
If your repository is a simple Markdown-based OSS or educational repository without a documentation framework, see:
Analyze your repository (recommended)
Select Analyze to let Localizeflow detect:
- Source language folders (for example,
src/content/docs/en) - Recommended translation output paths
You can review and adjust the detected paths before continuing.
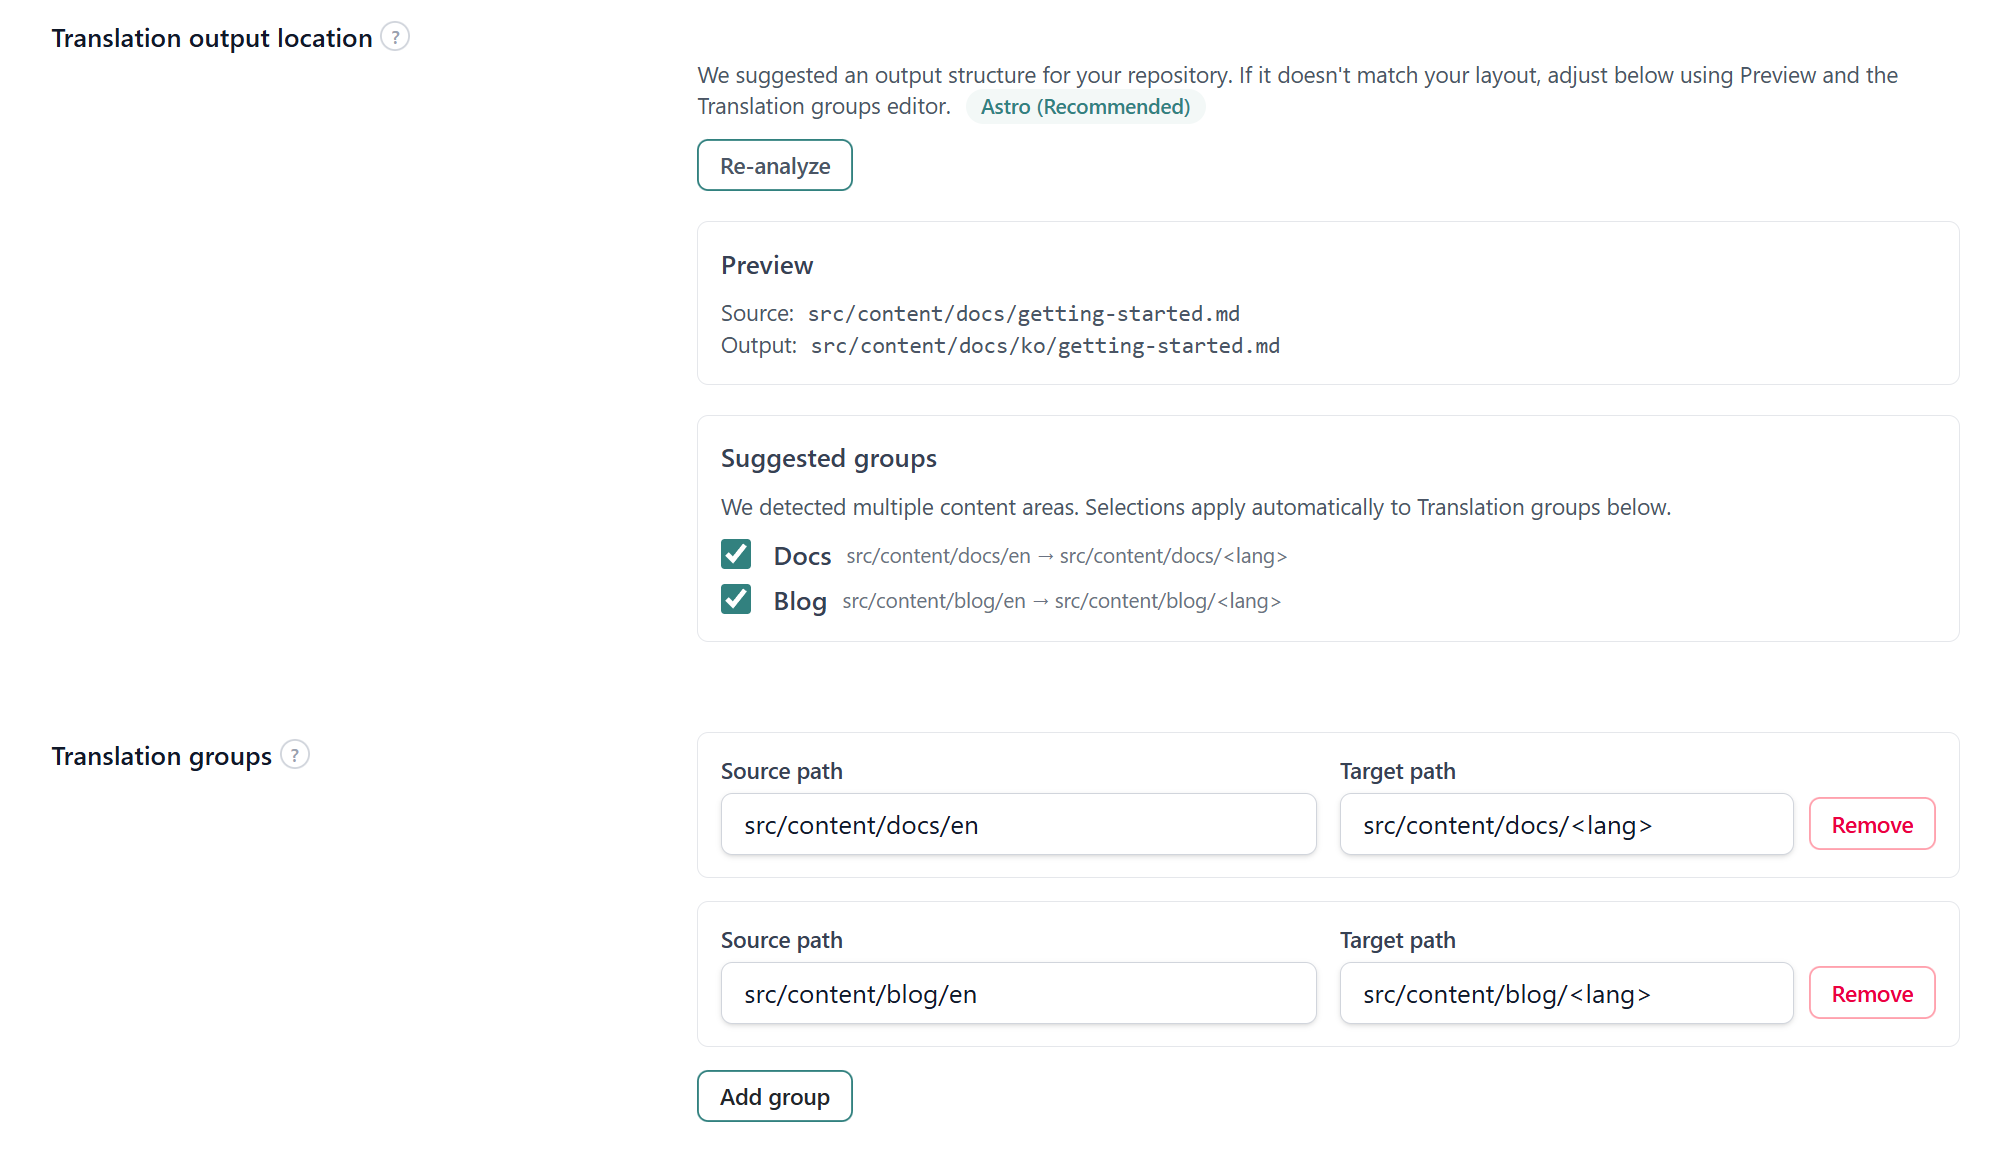
Translation groups
Each translation group defines a mapping:
Source path → Target path
Example:
src/content/docs/en → src/content/docs/<lang>
<lang> will automatically be replaced with each selected target language, such as:
kofres
If your repository includes multiple sections (for example, docs and blog), add one translation group per section.
Use the repository preview to visually confirm where translated files will be generated. You can adjust source and target paths directly if needed.
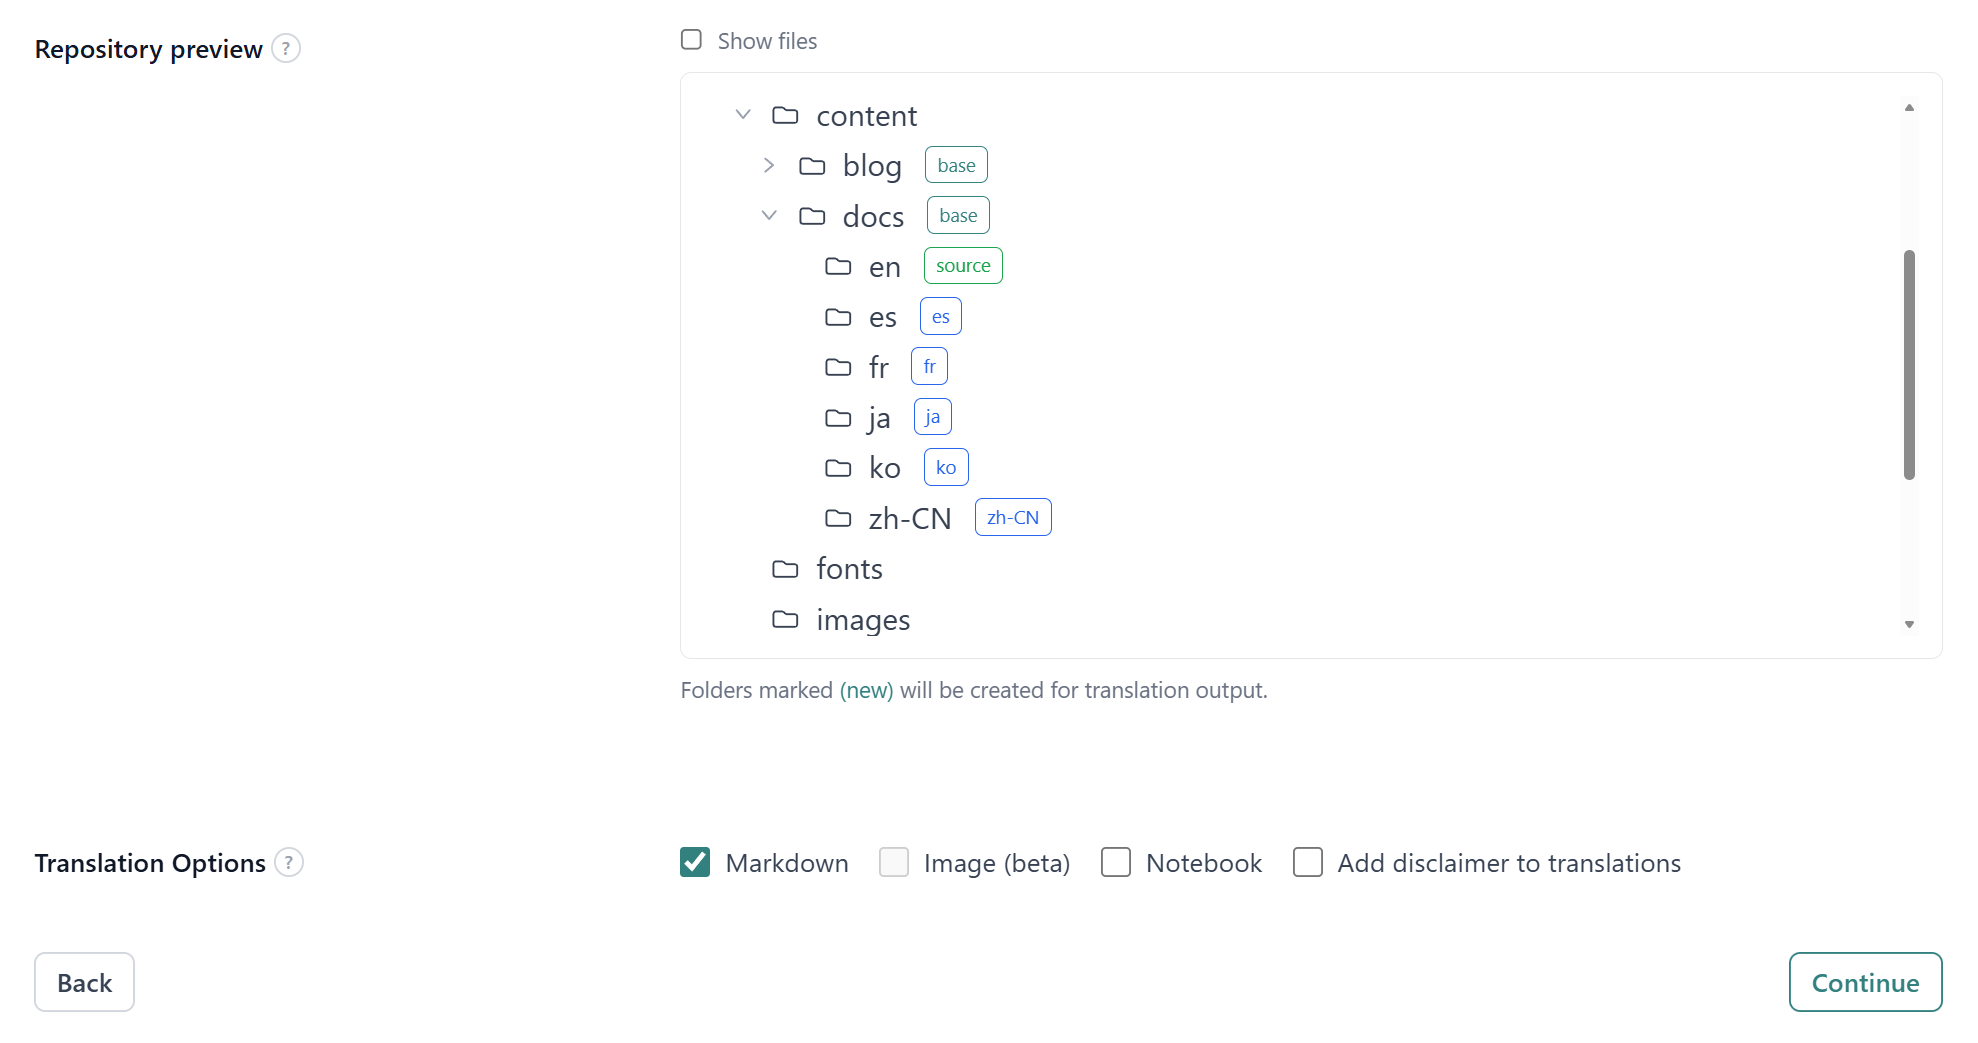
Translation options
You can enable additional processing:
- Markdown (default)
- Image translation (beta) (not available for documentation sites)
- Notebook translation
- Add disclaimer to translations
For most documentation sites, Markdown only is sufficient.
Select Continue.
Step 3: Glossaries & final checklist
Before automation begins, you can define terms that must remain unchanged during translation.
Create a glossary (recommended)
Glossaries help preserve:
- Product names
- Company names
- Feature names
- Legal or compliance phrases
Add one term per line. Each term remains unchanged in generated translations.
Example:
Localizeflow
Co-op Translator
GitHub App
You can edit or attach additional glossaries later.
Final checklist
Before selecting Save & Finish, verify:
- Source paths correctly match your Markdown file locations.
- Existing manual translations will not conflict with generated output.
- Outdated translated folders have been removed if necessary.
This checklist helps prevent duplicate files and broken links.
Start automation
After selecting Save & Finish, you will be redirected to the repository detail page.
Translation does not begin automatically.
To start automatic translation:
- Select Automate.
- Localizeflow scans your repository.
- Translation jobs are generated.
- Draft pull requests are opened automatically.
Once enabled, Localizeflow continuously monitors source changes and keeps translations in sync.
You can pause automation at any time using Pause automate.